The printer still needs parts to be replaced, but I was too excited to wait! I printed my first one inch by one inch cube. It has holes in it because the ball bearings are causing the extruder to wobble, but overall it is the perfect shape and the temperature is pretty close to perfect. I used the orange PLA filament that came with my printer kit. The only problem with it is that when it goes into the machine, it sometimes snaps because there are air bubbles in the filament. This is not uncommon, but it is happening a lot more than I would like it to. I bought better quality filament, but it is in ABS. I also tried printing a hollow cube, but the wobble is a little extreme so it is coming out very weak and slightly warped. Hopefully the parts come soon so I can print something that is a better quality.
|
It took me about 1 month to complete and I recorded about 78 hours of footage. With studying and homework, I did not have a whole lot of free time but I got it done and it looks amazing! The ball bearings are still busted so when I printed my first cube, there were numerous holes. I found a new trick how to level the bed. Use a wrench and just screw the bed the same width as the wrench! To test that the extruder is low enough, put a note card under it and it shouldn't move. I should be getting the ball bearings and new gold piece next week. 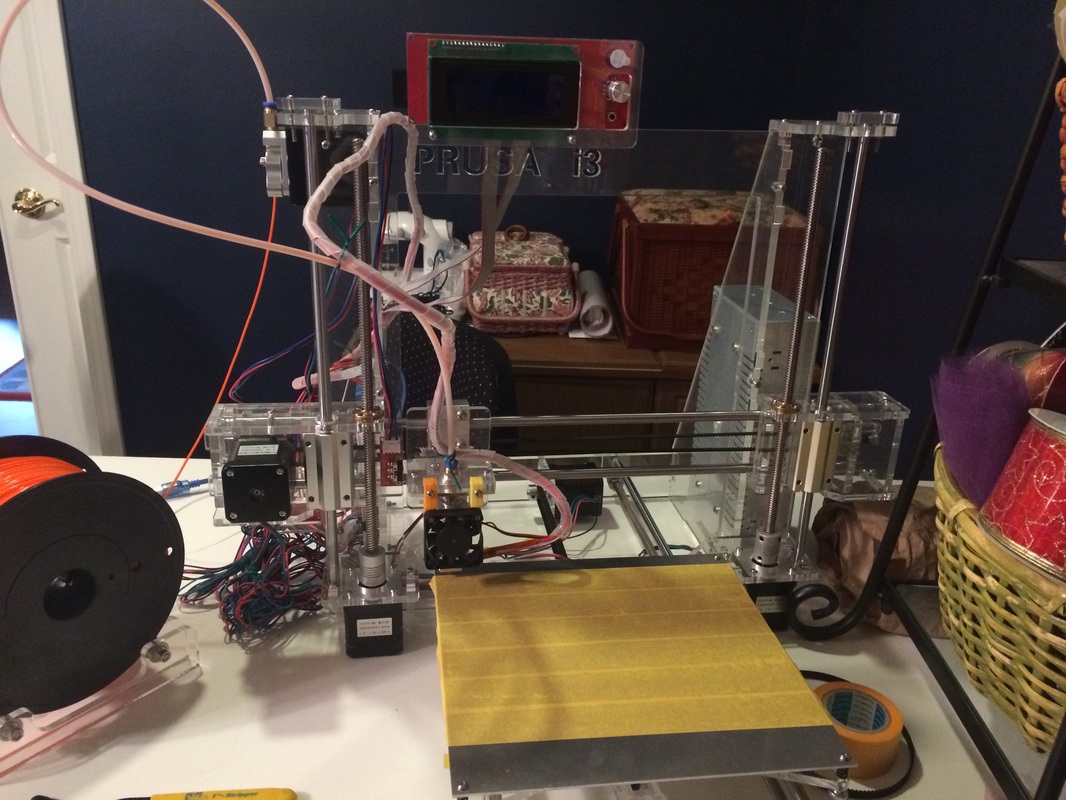 During the Process of Building my printer, I made a list of all the problems that I had to tackle. 1. The 3D printer came with the wrong colors of filament and came with a European plug instead of American. 2. A screw was mislabeled. It stated that it was m3x6 when it really should have said m3x16 3. There were two ball bearings that came busted. A few of the balls came out and this is causing my printer to wobble and not print in a perfectly straight line. 4. One of the gold enlarged Nuts were warped on the inside. Therefore, the inserted rod was forced to tilt at a 30 degree angle when it is suppose to be perfectly parallel to the rest on the machine. 5. Adding the y-axis belt was not included in the instructions 6. Attaching the heat sinks was not included in the instructions. 7. Mounting the Computer board Solving these Problems:
1. We ordered new filament, this time from the United States, and I used the plug from an old broken Vacuum. 2. I found that the correct screw was indeed 3x16 because it was the only screw that would fit in that hole size 3. I had the seller send us new ones so I could replace them 4. I used tin foil as makeshift shims (washers) under the nut until the seller sent us a new one 5. I used the same method as I did for the x axis belt to attach the y 6. I looked at a picture of my printer online and found where to put them 7. I again looked at a picture of my printer online and put it exactly where they had it. All the parts were included and packaged very well. The instructions are in the form of a video. The screws and nuts are in separate bags and they are all labeled. All of the other parts are not labeled, but there is a part sheet that gives the names of what the parts are and I matched it up with the name of the part in the video instructions. First, I had to peel off all the pink protective sheets from the clear plastic. After that, the instructions show and state what screws, motors, bearings, nuts, and rods to use and how to put them together. It is challenging due to the tools given. They are 4 L shaped hex wrenches with a ball at one end, and flimsy, easily bendable tweezers. Overall, the first day, I got 3 of the motors mounted.
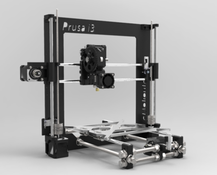
I chose the Reprap Prusa Mendel i3 Printer
It came from China and I paid around $300 for it. The shipping was free and it came with 2 rolls of free filament. I chose a white PLA filament and a black ABS filament so I can test both. It came via Fed Ex. Once i signed for it, I took it down to my basement to open it right away. It was wrapped very tightly and well. There was lots of foam surrounding the plastic parts and heated bed. There was also a foam compartment that separated all of the rods, screws, ball bearings, and Motors.
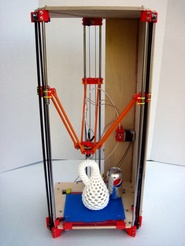
Advantages to a delta:
Disadvantages:
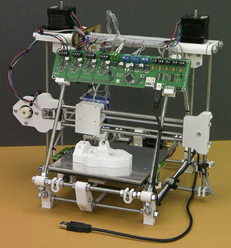
Advantages to a Reprap:
Disadvantages:
|
AuthorMy name is Alexandra Rozanski and I am a student at the International Academy East Campus. (Class of 2018) Archives
January 2016
Categories |
 RSS Feed
